Essential Tools for Timber Framing Success
Whether you’re a seasoned carpenter or just starting out on your woodworking journey, having the right tools is key to mastering the art of timber framing. This guide will break down the essential tools you need in your arsenal to become a timber framing pro. Ready to dive in? Let’s get started! The best guide to finding timber frame barns.
The Basics: Must-Have Carpentry Tools
Before we dive into the specialized tools for timber framing, let’s talk about the basic carpentry tools every woodworker should have. These are the bread and butter of woodworking and will come in handy for a myriad of projects.
Hammer and Nails
First up, the classic hammer and nails. A sturdy hammer is a carpenter’s best friend and will be used in almost every project you tackle. While power tools are great, sometimes you just need the simplicity and control that only a trusty hammer can provide.
Different hammers serve different purposes. For timber framing, a framing hammer with a milled face can provide a better grip on the nails, reducing slippage. Consider the weight and balance of the hammer as well, as this can significantly affect your comfort and efficiency during long hours of work.
Nails, too, come in various forms and sizes. For timber framing, heavy-duty nails are often needed to hold large beams securely. It’s worth investing in quality nails that won’t bend or snap under pressure.
Measuring Tape
Accuracy is everything in timber framing. A reliable measuring tape ensures that your cuts are precise and your structures are sound. Trust me, you don’t want to eyeball measurements when building something that’s supposed to stand the test of time!
Consider a measuring tape with clear, easy-to-read markings. Some tapes come with additional features such as a magnetic hook or a blade lock for one-handed operation, which can be incredibly convenient.
The length of the measuring tape is also crucial. While a standard 25-foot tape is versatile, for larger timber projects, you might need a longer tape to measure lengthy beams in one go.
Carpenter’s Square
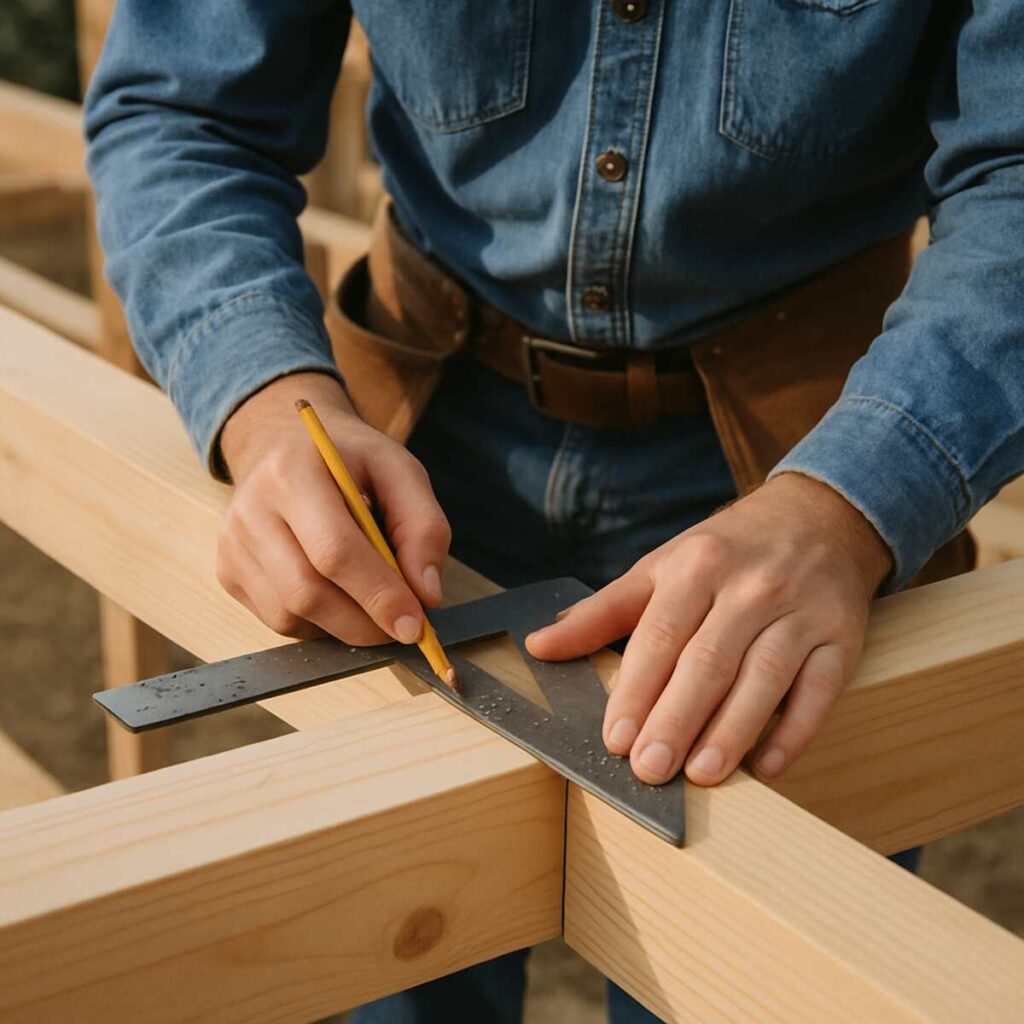
A carpenter’s square helps you make sure everything lines up perfectly. It’s essential for checking right angles and ensuring your work is as precise as possible. Precision is key, especially when you’re fitting pieces together in timber framing.

There are different types of squares, such as speed squares and combination squares, each serving unique functions. A framing square is particularly useful in timber framing for checking the squareness of corners and marking cut lines on large beams.
Look for squares made of durable materials like aluminum or steel for longevity. Some squares also come with built-in levels, providing extra utility in ensuring your frames are perfectly aligned.
Specialized Timber Framing Tools
Now that we’ve covered the basics, let’s move on to the specialized tools that will elevate your timber framing skills to the next level.
Slicks and Chisels
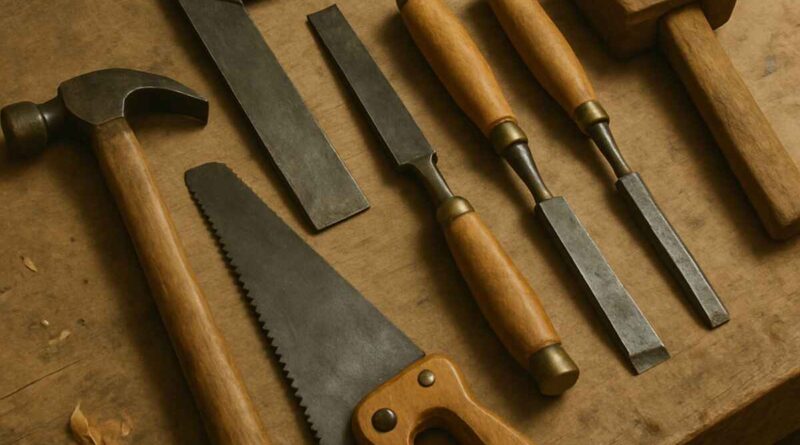
Slicks and chisels are essential for smoothing out joints and shaping timber. These tools help you carve out precise mortise and tenon joints, which are the cornerstone of timber framing. Choose high-quality chisels with comfortable grips to make your work easier and more enjoyable.
Slicks, which are larger chisels, are particularly useful in timber framing for finishing and refining joints. They come in various widths, allowing you to choose one that suits the scale of your project.
Regular sharpening of slicks and chisels is crucial to maintaining their effectiveness. A sharp edge not only makes the work easier but also ensures cleaner cuts, which is vital for the structural integrity of your frames.
Japanese Saw
Forget the bulky Western saws for a moment. A Japanese saw, with its pull-stroke cutting action, provides cleaner, more precise cuts. They’re lightweight and perfect for intricate cuts needed in timber framing. Once you try it, you might not go back!
The design of Japanese saws allows for thin blades, which means less material waste and more precise cuts. They are particularly beneficial when working with hardwoods, where precision is paramount.
There are different types of Japanese saws, such as Ryoba, Kataba, and Dozuki, each tailored for specific cuts. Investing in a couple of these can significantly enhance your cutting capabilities.
Mortise Machine
For those who are serious about timber framing, a mortise machine is a game changer. This tool allows you to quickly and accurately cut mortises, saving you time and effort. While it’s an investment, it’s worth it for the precision and efficiency it brings to your projects.
There are different types of mortise machines, including hollow-chisel mortisers and chain mortisers. Each has its advantages, and the choice depends on your specific needs and project scale.
Consider the power source and portability of the mortise machine, especially if you work on-site. A machine that balances power and ease of transport can be a real asset in timber framing projects.
Power Tools That Make Life Easier
While traditional tools have their charm, power tools can significantly speed up your workflow. Here are a few that you might want to consider.
Circular Saw
A circular saw is a versatile power tool that can handle a variety of cuts, from crosscuts to rip cuts. It’s ideal for cutting large pieces of timber quickly and efficiently. Make sure to use a blade suitable for the type of wood you’re working with to get the best results.
When selecting a circular saw, consider the power and speed of the motor. Higher power allows for smoother cuts through thicker materials.
The blade size is also crucial. A larger blade can cut through thicker beams, but it might be heavier. Balance the blade size with the saw’s weight for ease of handling.
Power Drill
A power drill is indispensable for driving screws and drilling holes. Look for one with variable speed settings and a comfortable grip. Cordless drills offer more flexibility, especially if you’re working in an area without easy access to power outlets.
Drill bits come in various sizes and materials. For timber framing, ensure you have a set of high-quality bits that can handle the density of the wood you’re working with.
Some drills come with additional features like impact drivers, which provide extra torque for driving screws into tough materials. This can be a great asset in timber framing, where precision and strength are vital.
Planer
A planer helps you achieve smooth, even surfaces. It’s perfect for preparing timber before assembly and gives your work a professional finish. If you’re serious about timber framing, a good planer is a worthwhile investment.
Consider the width capacity of the planer. A wider capacity allows you to work with larger beams more efficiently.
Dust collection is another important feature. A planer with an effective dust collection system keeps your workspace clean and reduces the risk of inhaling wood particles.
Tips for Choosing the Right Tools
When it comes to building your toolkit, quality is key. Here are some tips to keep in mind:
- Invest in Quality: High-quality tools last longer and perform better. They might be more expensive upfront, but they’ll save you money in the long run. Quality tools also provide better precision, which is crucial in timber framing.
- Comfort is Crucial: Look for tools with ergonomic designs that feel comfortable in your hand. You’ll be using these tools a lot, so comfort is essential. Well-designed handles can reduce fatigue and increase your efficiency over long periods of use.
- Do Your Research: Read reviews and ask for recommendations from experienced woodworkers. They’ll have insights into what works and what doesn’t. Join online forums or local woodworking clubs where you can get firsthand feedback from other timber framers.
- Consider Your Projects: Different projects may require different tools. Tailor your toolkit to the specific needs of your projects to ensure you have the right tool for the job. This approach not only saves money but also optimizes your work process.
Maintaining Your Tools
To keep your tools in top condition, regular maintenance is a must. Here are a few tips:
- Keep them Clean: After each use, wipe your tools clean to remove any debris or moisture that could lead to rust or damage. Use appropriate cleaning agents depending on the tool material for best results.
- Sharpen Regularly: Sharp tools are safer and more effective. Make it a habit to sharpen blades and bits regularly. Use sharpening stones or electric sharpeners for precision sharpening, and follow the manufacturer’s instructions for best practices.
- Store Properly: Store tools in a dry, organized space. Consider using protective sheaths for blades and bits to prevent damage. Investing in a good tool storage system can prolong the life of your tools and keep your workspace tidy.
- Inspect for Wear: Regularly inspect your tools for any signs of wear or damage. Early detection of issues can prevent accidents and prolong the life of your tools. Replace worn-out parts promptly to maintain optimal performance.
Conclusion
Timber framing is a rewarding craft that combines creativity with precision. With the right tools and a bit of practice, you can create stunning, durable structures that stand the test of time. Remember, the key to success lies in having the right tools and maintaining them well. So go ahead, gear up, and get started on your timber framing journey!
Happy building!

